



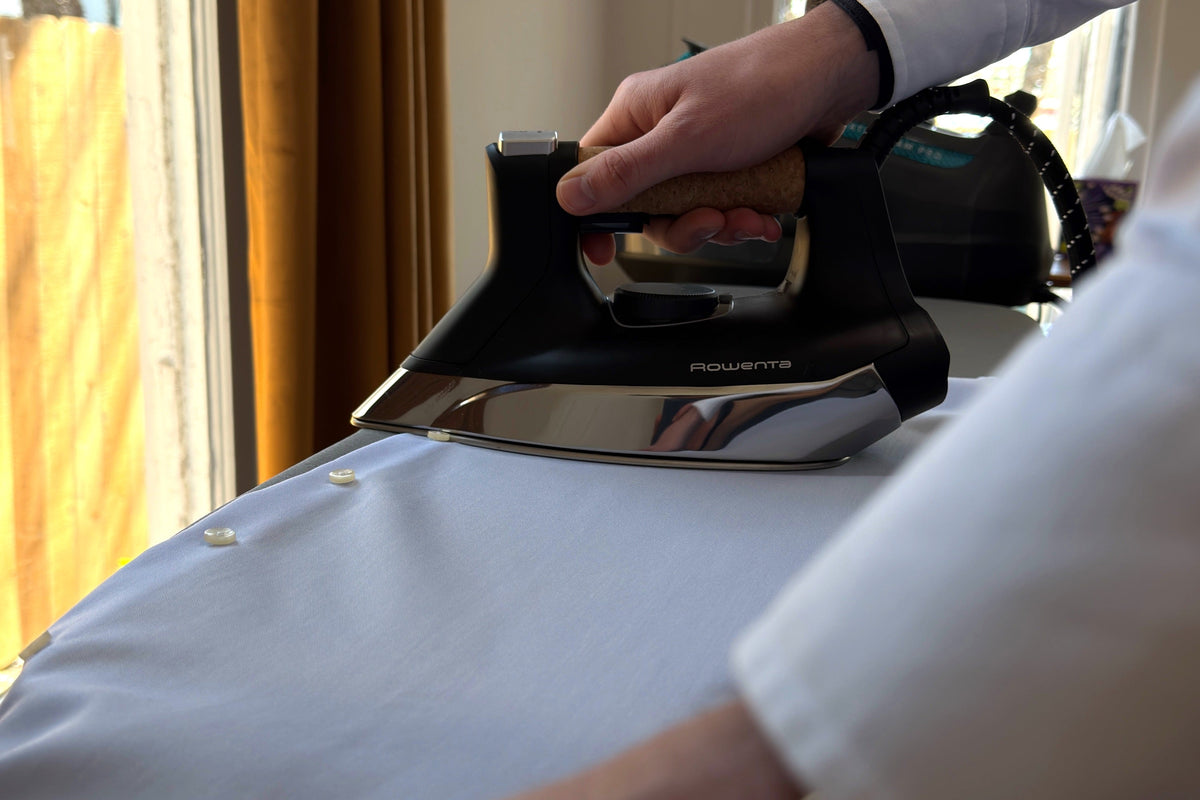
Why Ironing Matters
A well-ironed shirt speaks volumes about the man wearing it. Beyond smooth fabric and sharp lines, proper ironing preserves the shirt’s structure, protects fibers, and extends its lifespan. Done carelessly, it can scorch, shine, or distort even the finest cotton. Done well, it restores dignity to a day’s wear.
Understanding your tools, your fabric, and the basics of the process will ensure your garment stays looking sharp – so you do, too.
Preparation Before Ironing
1. Know Your Fabric’s Needs
Before you touch the iron, familiarize yourself with your fabric. Cotton and linen welcome higher heat, while blends and synthetics demand moderation. When in doubt, start on a lower setting and test an inner seam. It’s easier to increase temperature than to repair damage on a garment.
2. Work with a Clean, Damp Shirt
Never iron dirt into the cloth – it will set stains permanently. A slightly damp shirt irons beautifully: remove it from the dryer before fully dry or mist it lightly with water. The moisture helps the fibers relax and smooth under heat.
3. Set the Stage
A stable ironing board, a clean iron (with no mineral buildup), and good lighting make all the difference. Keep a spray bottle nearby for touch-up moisture, and ensure the iron’s steam function works smoothly.
The Order of Ironing
Move with purpose and consistency. Many begin with the smaller or less visible areas to warm up and finish with the most prominent panels.
1. The Collar
Remove collar stays. Start with the underside, pressing from the center toward the tips. Flip and repeat on the outer side, again working outward. For collars meant to roll softly, avoid flattening the edges into a razor-stiff crease.
2. Cuffs and Sleeves
Unbutton both cuffs and gauntlet buttons. Lay the cuff flat and iron the inside first, then the outside, steering clear of buttons.
For sleeves, align your seams perfectly before setting. Press from cuff to shoulder in long, smooth strokes. A sleeve board helps avoid creases; if you don’t have one on hand, keep the fabric taut for a single clean line.
3. Yoke and Shoulders
Slip one shoulder over the narrow end of the ironing board. Smooth the yoke (the fabric across the upper back) first, then the shoulder panels, working from center out. A crisp yoke will anchor the rest of your shirt.
4. Front Panels & Placket
Start with the button side. Guide the iron tip between buttons rather than over them to avoid breakage or impressions. Then move to the opposite front panel, pressing from the placket outward toward the side seams.
5. The Back
Drape one half of the back panel across the board. Begin at the top near the yoke and move down toward the hem. If your shirt has back pleats, iron gently along the folds, letting them retain definition rather than flattening them out.
6. Final Touch & Hang
Inspect the shirt for missed spots, then give a final light press where needed. Hang it immediately on a broad hanger, buttoning the top one or two buttons so it holds its form as it cools. Never fold a shirt while still warm – it will undo all your work.
Heat, Steam & Fabric Intelligence
-
Cotton: Medium-high heat, steam welcomed.
-
Linen: High heat, plenty of moisture.
-
Blends & Synthetics: Low heat, minimal steam.
Use distilled water if your local water is hard – minerals can stain or clog the iron. Wipe the iron’s soleplate regularly; a clean surface glides effortlessly and prevents residue transfer.
Common Pitfalls to Avoid
- Ironing over stains (heat locks them in permanently).
- Leaving the iron in one spot – scorching and shine await.
- Ignoring care labels or fabric limits.
- Pressing directly over buttons.
- Folding or storing the shirt before it’s completely cool.
The Takeaway
A shirt that’s pressed well doesn’t just look good – it behaves well, falling cleanly on the body and holding its composure through the day.
We want your garments to see long lives - proper ironing will ensure your shirts stay looking sharp and lasting as long as possible.
When you understand the temperature and technique, ironing ceases to be a chore and becomes a straightforward, simple process.
Ready to try made-to-measure? Replacing ill-fitting shirts with shirts made for you is a great place to start. Check out our shirting selection here at www.shepherds.com/collections/shirts and schedule your fitting consultation today.